- What are the benefits of PSD WordPress Conversion?
- How is the Photoshop file to WordPress Theme Conversion Performed?
- Step 1: Slashing your Design into Small Images
- Step 2: Develop the HTML and CSS Files
- Step 3: Save the HTML and CSS files
- Step 4: Insert WordPress Theme Structure into HTML
- Step 5: Break the Code According to the File
- Step 6: Download the Theme
- Step 7: Attaching WordPress Tags
- Step 8: Include the WordPress Functionalities
- Why Should You Choose Our PSD to WordPress Services?
- Conclusion
In today’s competitive world, having a website that is optimized to perform well on search engines brings the most value. A well-optimized website can significantly increase user experience, drive traffic, and boost conversion. Photoshop to WordPress conversion emerges as one of the best approaches when it comes to creating one.
This process involves transforming a static PSD file into an interactive WordPress theme with tailored features. It is an effective and popular web development technique.
WordPress is a renowned CMS for its user-friendly interface; it provides a solid foundation for easy development of professional websites. According to W3Tech, it empowers 43.2% of the websites on the internet.
However, the conversion process requires attention to detail and expertise in web development. By converting your PSD files into WordPress, you can leverage the power of this CMS. Not only that, but this will result in unleashing various features and functionalities of WordPress that are helpful in optimizing your website to the fullest.
Hence, the right PSD to CMS conversion services from a reliable service provider is of greater importance. This will result in developing a quality WordPress theme that resonates with your brand.
This blog will discuss the benefits of PSD WordPress conversion, its process, and how conversion services can help you. So, continue reading this blog.
What are the benefits of PSD WordPress Conversion?

Here are some of them:
1. Pixel Perfect Web Pages
This conversion process ensures your website maintains the original design’s pixel-perfect precision and visual fidelity. You can achieve a seamless transition by preserving all the details of your web pages. To achieve this, it is advisable to consider reliable PSD to WordPress conversion services. It is because they have experience in maintaining the intricacies of the process.
2. Responsive Websites
With the increasing number of smartphone users, you cannot afford to miss them out. This process allows you to create a responsive design that automatically optimizes your website’s layout. It will let you create a website that fits various screen sizes and resolutions. This enhances the user experience across diverse devices and ensures your website remains accessible to various users.
3. Customized Sites with Themes and Plugins
WordPress offers a vast library of themes and plugins, providing options for customizing your website. During the PSD to WordPress conversion, you can select or develop a theme that aligns with your requirements. Like, if you want to ensure security, then use a plugin called Sucuri. In a nutshell, WordPress has the potential to deliver bespoke websites according to the requirements of businesses.
4. SEO-Friendly
Know that you will get the platform’s free SEO benefits by converting Photoshop design files to WordPress. Moreover, this CMS has different plugins for advanced SEO features. These benefits can make your website search-ready, providing good user acquisition and retention rates.
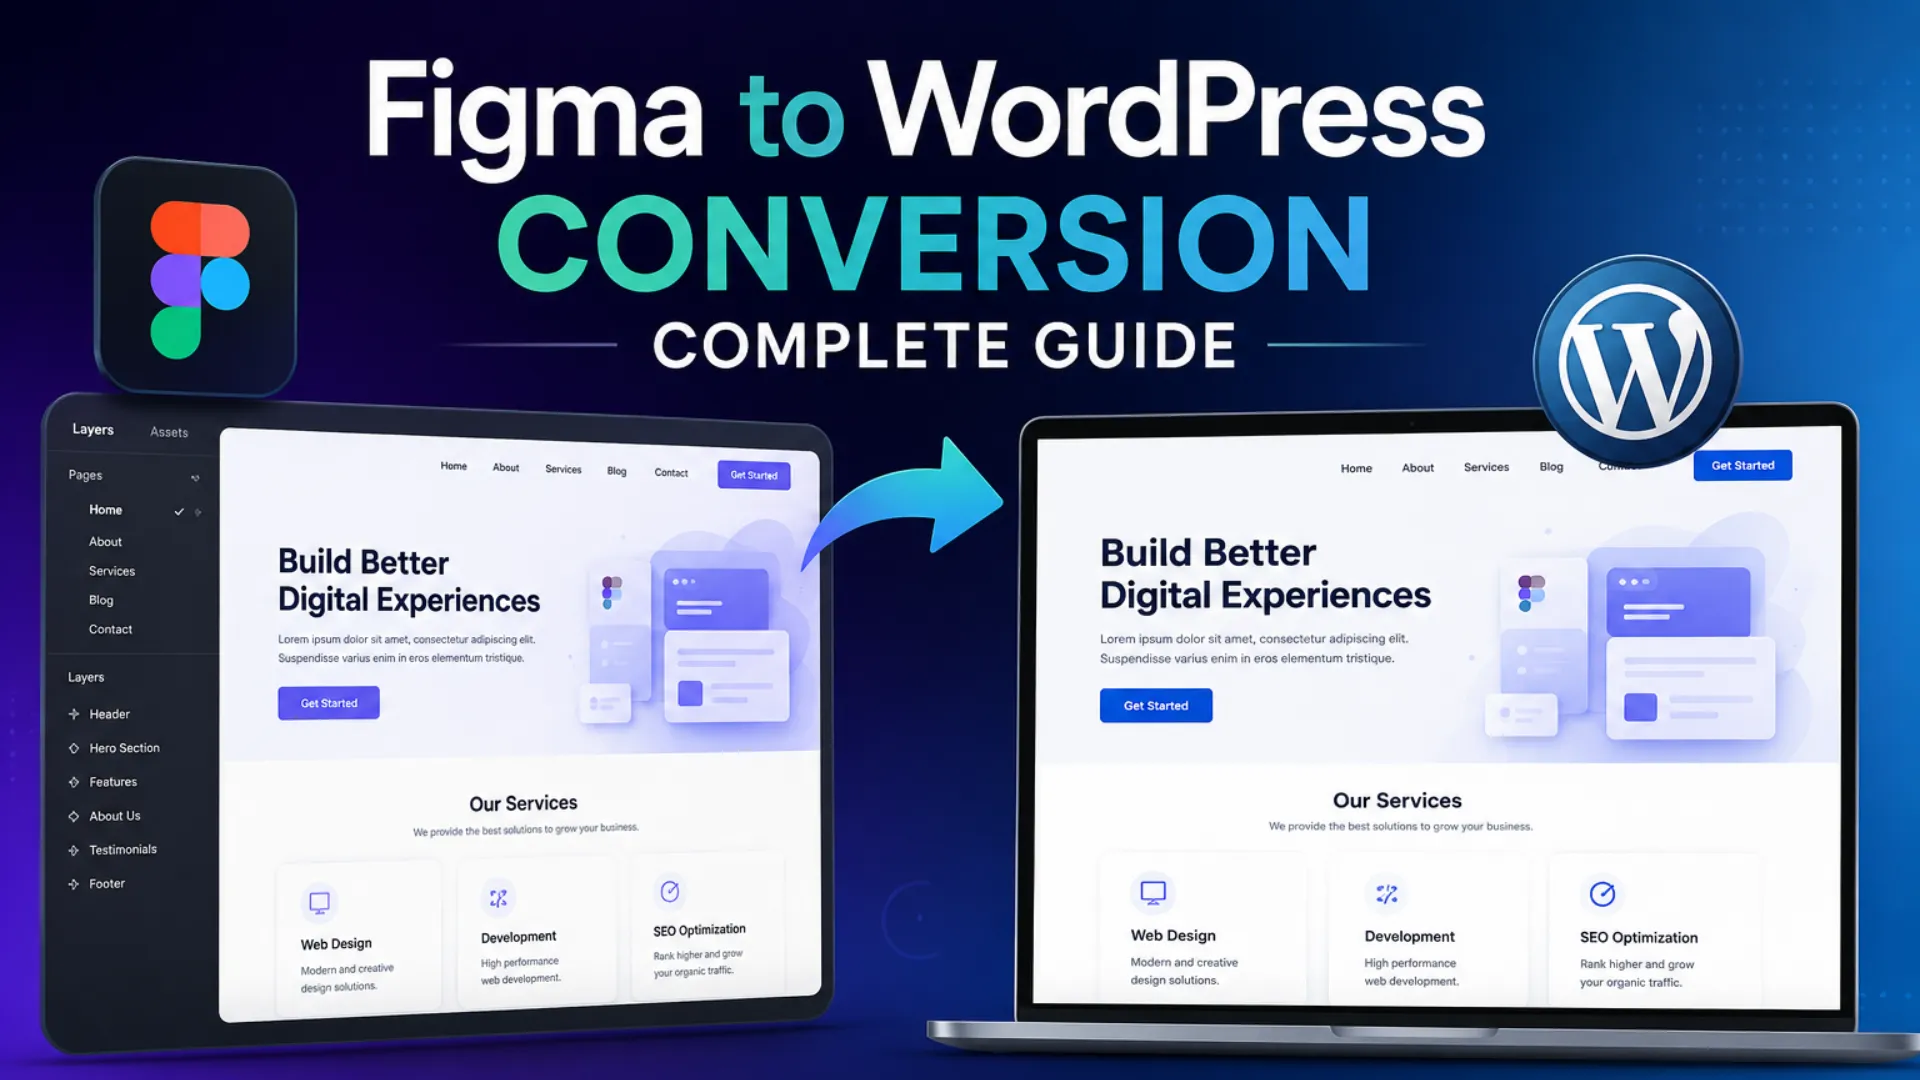
How is the Photoshop file to WordPress Theme Conversion Performed?

There are thousands of built themes available on WordPress that you can use to make your site attractive. However, if you want to create your own design by maintaining uniqueness, you need to transfer the picture design to a website. This PSD to WP conversion may get tough, but following the steps below can be quite easy for you.
Step 1: Slashing your Design into Small Images
You need to cut the design into slices to convert the template to a WordPress theme. After that, through Photoshop design, you can save each design component into a different file. For cutting your design images, you can use any editing software.
Now, you need to separate all the images you want to include on your webpage. Do not upload more images; it will slow the performance of a webpage. You can also arrange your images by the use of a slider, header, footer, and background framework. Maintain the quality of each image while cutting them.
Step 2: Develop the HTML and CSS Files
If you want to create a static web page, you can use HTML and CSS files. Thus, it would be more helpful to know about the languages. In this step, you have to move on to the programming phase. You need to create an HTML and CSS file for webpage coding and designing.
You can rename the HTML file to home.html and the CSS file to stylesheet.css. Afterward, you can save the file name using tools like Notepad or a programming editor like Dreamweaver.
This is a crucial stage where working with a PSD to WordPress converter servicer provider is recommended. You should work with one who is proficient in HTML and CSS coding.
Step 3: Save the HTML and CSS files
- For this, you need to open the editor.
- Here, you will have to create a file and name it Home.html.
- To save a CSS file, open another editor, name it stylesheet.css, and then save it.
- If you want to write the basic code of the header body, then open the HTML file.
- Do not forget to use the proper references to the class while creating any tags. So you can easily connect to your CSS files.
- Finally, save the HTML file.
Step 4: Insert WordPress Theme Structure into HTML
The main reason for converting files to WordPress is to create a user-friendly website template that can be uploaded easily on the WordPress dashboard. Once you convert the template into a WordPress theme, you need to upload it to the WordPress dashboard. But, before uploading to a WordPress dashboard, you need to know a little bit about WordPress.
There is a specific file structure on WordPress that you need to follow.
There are two files that you can use to create a WordPress theme, the first is index.php, and the other is style.css files. Although WordPress has many other files like footer.php, archive.php, header.php, sidebar.php, and so on. You may also use any of these files according to your choice.
Step 5: Break the Code According to the File
Basically, you will upload your web page to WordPress themes. You may add WordPress plugins and other functionalities to make it more authentic. The files that help you convert the design code into a WordPress theme are defined below, such as
- Index.php: It represents the homepage file.
- Header.php: This file defines the common header design for all the web pages.
- Footer.php: You may add a common footer for all the pages.
- Category.php: By this page, you may display all the categories.
- Tag.php: You may use this page if any tag is required on the website.
- Sidebar.php: With this, you may create a common sidebar that will fit all the pages.
- Date.php: This page displays the date and time
- Search.php: To perform a search operation
Step 6: Download the Theme
After fitting the code into the file, you need to download the theme according to your choice. Now, upload this theme to your hosting panel. There is already a default design present on the website. Now, you need to open the index.php file and replace the code with the home.html file. After that, you will have to open the style.css file and replace this code with stylesheet.css. After that, you need to click on the Save option to save the file. Now, check the design of your website. Here, you can make any changes to your design and code.
Step 7: Attaching WordPress Tags
Using WordPress tags, you have to import the predefined functionalities that WordPress provides into your theme. You can easily access the WordPress template tags.
You can get all the details and know-how to use these tags in your PHP files.
You may add some advanced functionalities that are provided by WordPress. You will see all the tags and functionality under these pages with sample usage. After that, it will be a little bit easy for you to create your own themes.
After adding all the tags and new functionalities, you need to place all the files into a single folder and rename it by your name. Now, place this folder inside the —-/wp-content/themes/ folder. After completing all the steps carefully, you may initialize your WordPress theme from the WordPress dashboard. Now, go to your new fantastic WordPress website.
Read Also: Top WordPress Trends In 2023 That You Should Know
Step 8: Include the WordPress Functionalities
Now, you have already successfully created your own WordPress theme. But, if you want any website improvement, add more advanced functionalities to your theme. You may also learn more exciting techs like JavaScript to add compelling features to your theme.
Why Should You Choose Our PSD to WordPress Services?
Are you facing any issues while creating or converting a design into a WordPress theme?
So, you do not have to worry about it as you have reached the right place. At CSSChopper, your query will be resolved shortly. Our team of experts will provide you dynamic conversion solutions with their expertise and technical resources.
Here, you will find an expert and professional web developer. You can hire a WordPress developer from CSSChopper. Our developers will always be ready for your help. They provide:
- Error-free high-quality code
- Best PSD design technique
- W3C validation structure
- SEO-friendly website
Conclusion
The complete process of converting the template to a WordPress theme is quite simple if you follow all the above steps carefully. However, if you face any issues while using this process, you may contact a PSD to WordPress conversion company. At CSSChopper, you will get an experienced and professional developer who will be always ready for your help. With this conversion, you will get a design file for a responsive website, which will help you to get more revenue.
Categories
Recent Posts
Popular Posts
- How to Choose a Reliable Offshore Development Partner?
- Transforming Web Development with HTMX’s Declarative Approach for Dynamic UIs
- Top 15 Ecommerce Growth Strategies to Maximize Sales in 2026
- What is B2B Web Design? Benefits, Best Practices, and Examples
- Why Your Conversion Funnel Needs a Composable Commerce Solution?