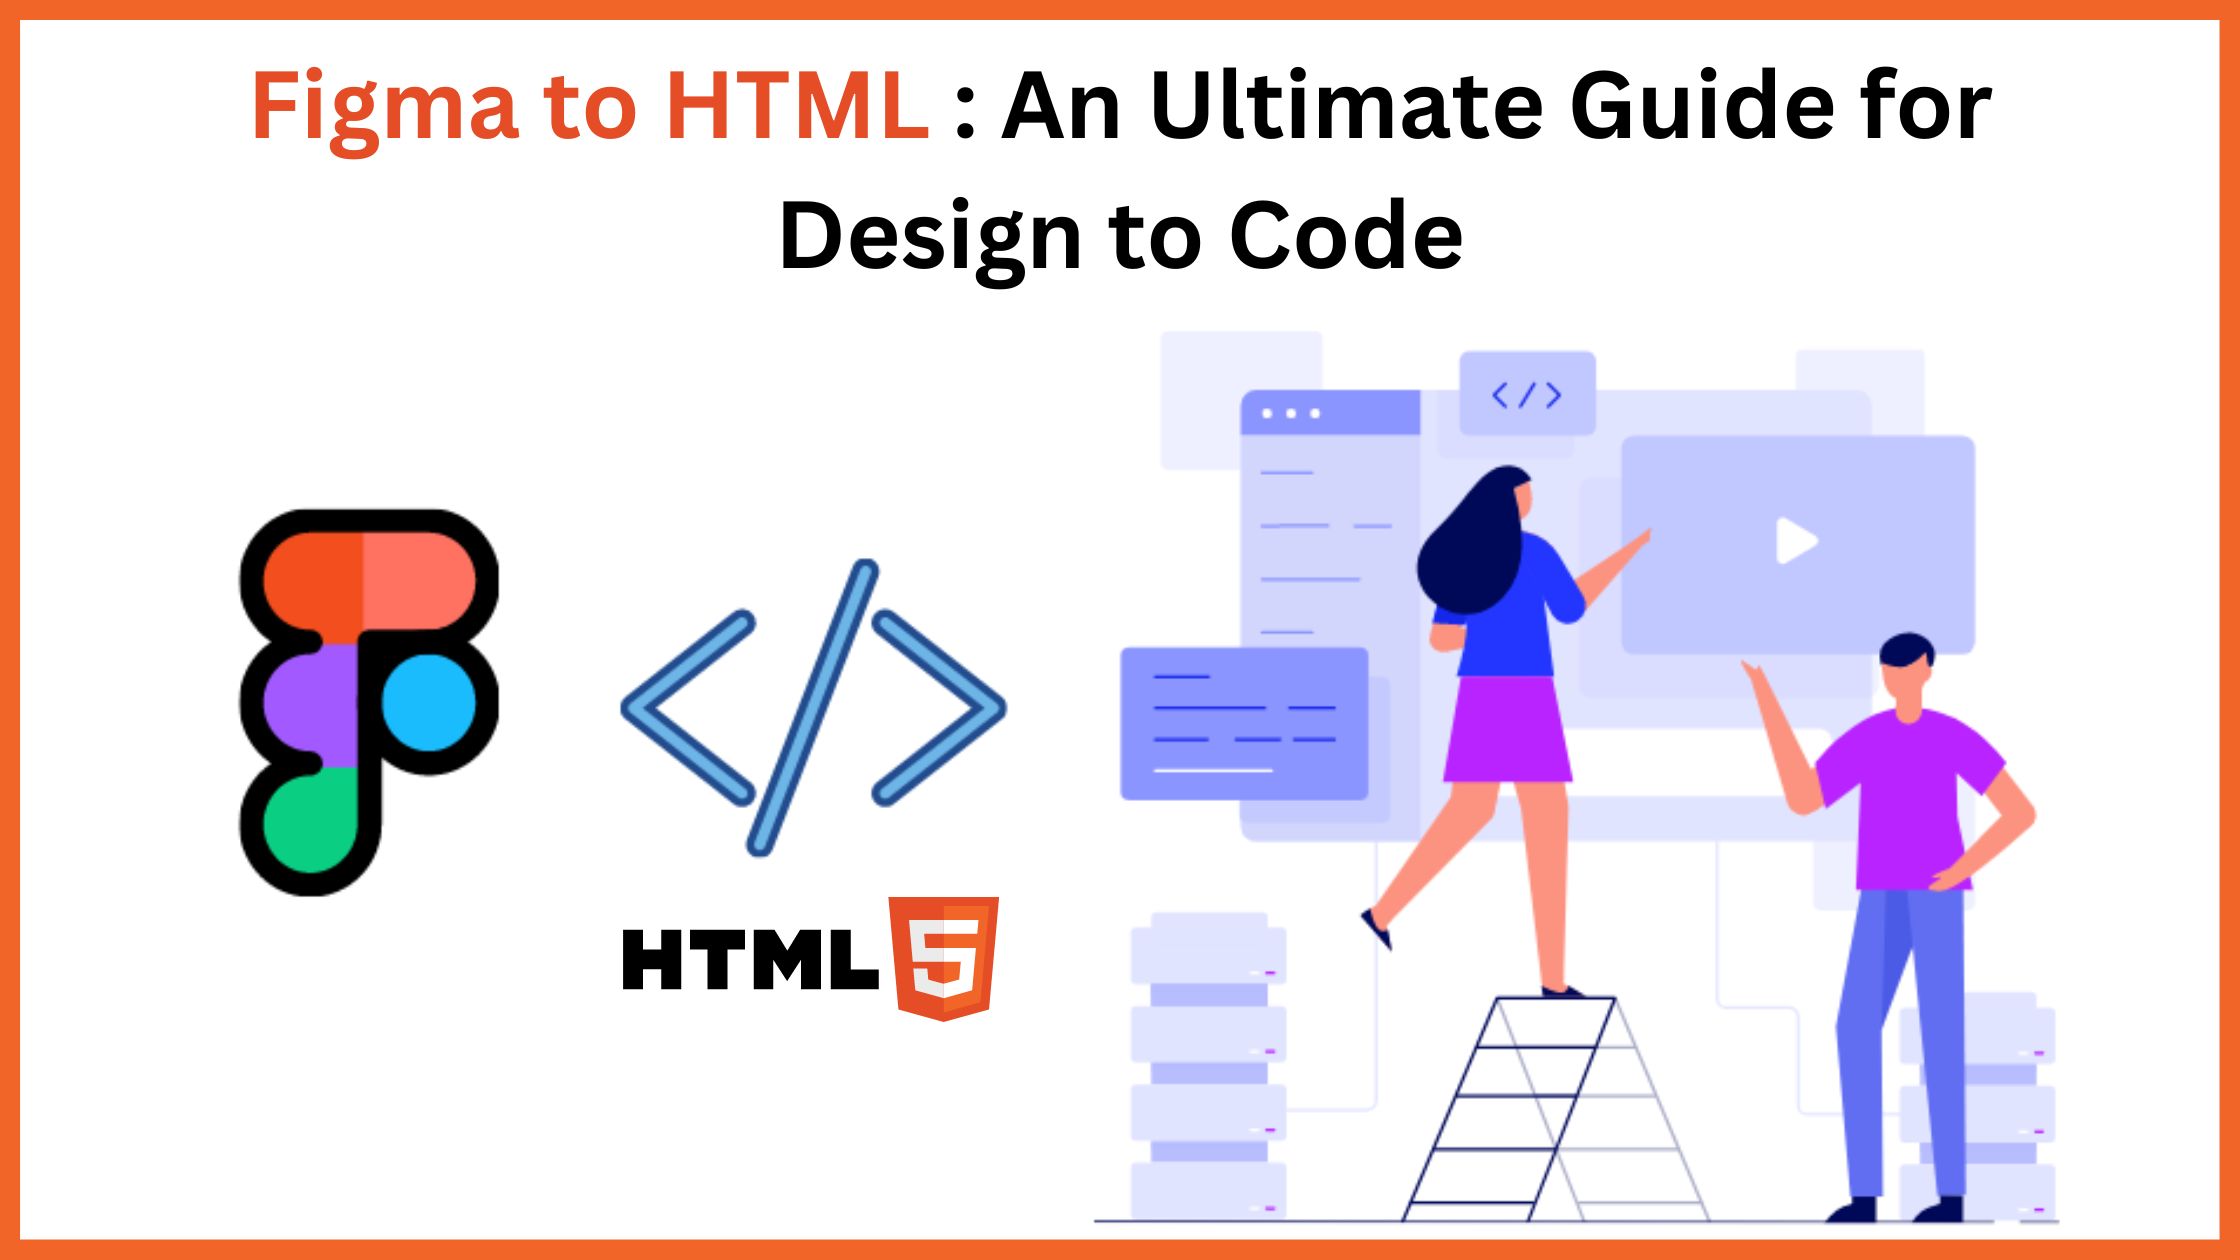
- What is Figma?
- What is WordPress?
- Why Businesses Convert Figma Designs to WordPress
- Figma to WordPress Workflow Explained
- Different Methods to Convert Figma to WordPress
- Step-by-Step Guide to Convert Figma to WordPress
- Step 1: Finalize Your Figma Design
- Step 2: Export Design Assets
- Step 3: Set Up Your WordPress Environment
- Step 4: Choose Your Development Method
- Step 5: Build the Header and Footer
- Step 6: Build Page Templates
- Step 7: Make It Responsive
- Step 8: Connect Dynamic Content
- Step 9: Install Essential Plugins
- Step 10: Test, Optimize, Launch
- Figma to Elementor vs Custom WordPress Development
- Common Challenges in Figma to WordPress Conversion
- Best Practices for Pixel-Perfect Figma to WordPress Development
- Performance Optimization Tips
- Figma to WooCommerce Development
- Converting a Figma e-commerce design to WooCommerce involves:
- How Much Does Figma to WordPress Conversion Cost in 2026?
- Should You Hire a Figma to WordPress Development Company?
- Tools Commonly Used in Figma for WordPress Projects
- Future of AI in Figma to WordPress Development
- Final Thoughts
If you’ve got a beautiful Figma design sitting on your screen and you’re wondering how to turn it into a real, live WordPress website, you’re in the right place. This happens more often than you might think. Designers create stunning mockups in Figma. Clients love them. Then someone asks, “Okay, so how do we actually build this?” And that’s where the confusion starts.
The good news: converting a Figma design to WordPress isn’t as complicated as it seems. You don’t need to be a full-stack developer to understand the process, and you don’t need to start from scratch every time. There are clear workflows, practical tools, and real methods that people use every day to bring Figma designs to life on WordPress.
This guide is for designers who want to understand the development side, business owners making decisions about their web projects, and beginner developers trying to figure out where to even start. We’ll walk through everything, from the basics to cost estimates to the best tools available in 2026.
What is Figma?
Figma is a browser-based design tool used primarily for UI and UX design. It lets designers create website mockups, app interfaces, design systems, and interactive prototypes, all in one place. What makes Figma popular isn’t just the features. It’s the collaboration.
Multiple team members can work on the same file simultaneously, leave comments, share links, and hand off designs to developers with built-in inspection tools. There’s no “send me the file” back and forth. For web projects, Figma has become the industry standard. When a client wants a custom website, the design process almost always starts in Figma before a single line of code gets written.
What is WordPress?
WordPress is the most widely used content management system (CMS) on the internet, powering over 40% of all websites. It’s open-source, flexible, and has a massive ecosystem of plugins and themes. What makes WordPress particularly relevant here is that it separates content from design. You can build almost any frontend layout on top of it, which is exactly why it’s such a good match for custom Figma designs.
WordPress gives clients the ability to update their content without touching code. That’s a big deal for businesses. You design something beautiful in Figma, build it in WordPress, and the client can log in and update their blog posts, team bios, or product descriptions on their own.
Why Businesses Convert Figma Designs to WordPress
There’s a practical reason this workflow exists: Figma is a design tool, not a publishing platform. You can’t just “upload” a Figma file to the internet and call it a website. So businesses design in Figma and then build in WordPress because:
- Figma handles the visual side well. Designers can present pixel-perfect mockups, get client approval, and iterate before a single line of code is written.
- WordPress handles the publishing side well. It has CMS capabilities, blog support, plugin integrations, and a huge hosting ecosystem.
- Clients need control. Most business owners don’t want to contact a developer every time they need to update their homepage text. WordPress gives them a user-friendly dashboard.
- Custom designs matter. Using a generic WordPress theme rarely matches a brand’s vision. Figma to WordPress conversion lets you build something that actually looks like the design.
It’s also worth noting that many agencies have standardized this workflow. Design in Figma, review with the client, build in WordPress. Rinse and repeat.
Figma to WordPress Workflow Explained
Understanding the full workflow helps you see where each step fits. Here’s how a typical Figma to WordPress project actually runs.
Design Planning
Before anyone opens Figma, there should be a clear understanding of the website’s goals. What pages does it need? What’s the navigation structure? What content types will it manage? These decisions shape everything that comes after.
Good design planning also includes setting up Figma files with proper component structures, consistent spacing, and a defined color system. Developers appreciate well-organized Figma files. Messy ones cost time.
UI/UX Preparation
Once the design is in Figma, it needs to be prepared for handoff. This means checking that fonts are consistent, breakpoints for mobile and desktop are included, hover states are defined, and interactive components are documented.
Figma’s Dev Mode (or the older Inspect panel) lets developers see exact values, spacing, font sizes, and color codes directly from the design file. Using this properly can cut development time significantly.
Frontend Development
This is where the Figma design gets turned into actual HTML, CSS, and sometimes JavaScript. Developers look at the Figma file and write code that replicates the visual design. This step requires attention to detail. Fonts need to match. Spacing needs to match.
Responsive behavior needs to match. Getting this right is the difference between a website that looks like the design and one that sort of resembles it.
WordPress Integration
Once the frontend is built, it gets integrated into WordPress. This typically means converting HTML/CSS into PHP-based WordPress templates, creating a custom theme, or building inside a page builder like Elementor.
The WordPress integration step also includes setting up the site’s architecture: page templates, custom post types, taxonomies, and any dynamic content structures the site needs.
CMS Setup
After the templates are in place, the CMS gets configured. This involves setting up the WordPress dashboard, creating editable content areas, installing necessary plugins, and making sure the client can actually manage their site without breaking anything.
Testing and Optimization
Before launch, the site goes through testing. This includes cross-browser testing, mobile responsiveness checks, page speed analysis, form validation, and accessibility review. Skipping this step is one of the most common beginner mistakes. Sites that look fine in Chrome can break in Safari. Pages that look great on desktop can fall apart on mobile.
Different Methods to Convert Figma to WordPress
There’s more than one way to do this, and each approach has tradeoffs worth knowing about.
Custom Coding
A developer manually converts the Figma design into a custom WordPress theme using PHP, HTML, CSS, and JavaScript. This gives the most control and produces the cleanest result, but it takes more time and requires real development skills.
Custom coding is the right choice for complex projects, performance-critical sites, or designs that are highly unique. It’s also the most expensive option.
Elementor
Elementor is a drag-and-drop WordPress page builder that lets you build layouts visually. You can replicate a Figma design by building it block by block inside Elementor’s editor.
There are even dedicated Figma-to-Elementor plugins and workflows that try to bridge the gap more directly. For most small to medium business websites, Elementor is a very practical choice.
Gutenberg
Gutenberg is WordPress’s built-in block editor. It’s more lightweight than Elementor and doesn’t require an additional plugin. Developers who are comfortable with block development can build custom blocks that match Figma designs accurately.
Gutenberg has come a long way since its early days. Full Site Editing (FSE) makes it possible to build complete custom themes using blocks, which is an increasingly popular approach in 2026.
AI Tools
Tools like Locofy.ai and Anima can attempt to convert Figma designs directly into code. The idea is appealing: drag a Figma file in, get code out.
The reality is more nuanced. These tools have improved considerably, but the output often needs significant cleanup before it’s production-ready. They’re more useful as a starting point than a final solution, especially for complex designs.
Automation Plugins
There are WordPress plugins that claim to automate parts of the Figma-to-WordPress process. Most of these work by importing design structures or generating page builder layouts from Figma data. Results vary. For simple pages, some of these tools work surprisingly well. For anything with custom functionality, they tend to fall short.
Step-by-Step Guide to Convert Figma to WordPress
Here’s a practical walkthrough for beginners going through this process for the first time.
Step 1: Finalize Your Figma Design
Before touching WordPress, make sure the Figma design is complete and approved. Changing major design elements mid-development is expensive and frustrating. Get sign-off first.
Check for:
- Consistent font usage
- Defined color variables
- Mobile (375px) and desktop (1440px) versions of each page
- All button states and hover interactions documented
Step 2: Export Design Assets
From Figma, export all images, icons, and illustrations that will be used on the site. Use SVG for icons and logos, PNG or WebP for photos and raster graphics. Set up export settings in Figma so you’re getting 2x resolution images for retina displays. This is easy to forget and creates blurry images on high-resolution screens.
Step 3: Set Up Your WordPress Environment
Install WordPress locally using a tool like LocalWP or MAMP, or set it up on a staging server. Starting on a live server without a staging environment is asking for trouble. Install WordPress, choose a starter theme or start from scratch depending on your method, and make sure you can access the dashboard.
Step 4: Choose Your Development Method
Decide now whether you’re going with Elementor, Gutenberg blocks, or custom theme development. This affects everything: the tools you install, the file structure you create, and the workflow you follow. For beginners, Elementor Pro is usually the fastest path to a functional result.
Step 5: Build the Header and Footer
Start with the global elements: the header (logo, navigation menu) and footer (links, contact info, copyright). These appear on every page, so getting them right early prevents repeating work later. In Elementor, these are managed under Theme Builder. In a custom theme, they’re in header.php and footer.php.
Step 6: Build Page Templates
Work through the Figma designs page by page. Start with the homepage, then move to inner pages. Build each section as you go, referring back to the Figma file constantly to check spacing, typography, and layout.
Use Figma’s Dev Mode to get exact pixel values, font sizes, line heights, and hex color codes. Don’t eyeball these. Precision matters.
Step 7: Make It Responsive
Once the desktop layout is built, go through each page and check the mobile view. Adjust font sizes, stack columns that should be vertical on mobile, and make sure tap targets are large enough. Responsiveness is one of the most common pain points in Figma to WordPress conversion. Figma shows you a static layout. WordPress has to adapt to every screen size dynamically.
Step 8: Connect Dynamic Content
If any part of the site pulls content from the WordPress CMS (blog posts, team members, portfolio items), set up the custom post types and connect them to the templates. In Elementor Pro, this is done with dynamic tags. In a custom theme, you use WordPress template tags and WP_Query.
Step 9: Install Essential Plugins
Beyond Elementor (if you’re using it), most WordPress sites need a few other plugins:
- Yoast SEO or Rank Math for on-page SEO
- WP Rocket or similar for caching and performance
- Wordfence for security
- Contact Form 7 or WPForms for forms
- UpdraftPlus for backups
Don’t install plugins you don’t need. Every unnecessary plugin is a potential security risk and performance drag.
Step 10: Test, Optimize, Launch
Run the site through Google PageSpeed Insights. Test on real mobile devices. Check every link. Submit the sitemap to Google Search Console. Then launch.
Figma to Elementor vs Custom WordPress Development
This is one of the most common questions: should you use Elementor or build a custom theme?
| Factor | Elementor | Custom Theme Development |
| Speed | Faster to build | Takes longer |
| Cost | Lower upfront cost | Higher development cost |
| Performance | Can be heavier | Leaner if coded well |
| Flexibility | Good for most sites | Better for complex needs |
| Maintenance | Plugin-dependent | More control |
| Design accuracy | Very good | Pixel-perfect possible |
| Beginner-friendly | Yes | No |
- Elementor pros: You can build a visually accurate website from a Figma design without writing a lot of code. Updates and content changes are easy to manage without touching code. The learning curve is much shorter.
- Elementor cons: Sites built entirely in Elementor can be slower than custom-coded ones. If Elementor updates break something, you’re dependent on their fix. Very complex interactions and layouts sometimes hit limitations.
- Custom development pros: You have complete control over every line of code. Sites can be significantly faster. There are no third-party dependencies for core functionality.
- Custom development cons: It’s more expensive, takes longer, and requires real development expertise. Content editing can be less intuitive for clients without proper setup.
Honestly, for most business websites, Elementor is a perfectly solid choice. Custom development makes the most sense for large-scale projects, high-traffic sites, or designs with very specific technical requirements.
Common Challenges in Figma to WordPress Conversion
It’s worth being realistic about the parts of this process that tend to cause problems.

Fonts not matching
Custom fonts used in Figma need to be properly loaded in WordPress. Sometimes licenses restrict web use. Always verify font licensing before designing with a custom typeface.
Spacing inconsistencies
Figma uses auto-layout and precise spacing systems. Translating that to CSS requires care. Even small spacing errors add up and make a site feel off.
Responsiveness gaps
Figma designs often show one desktop breakpoint and maybe one mobile size. Real websites need to look good at every width in between. This requires extra work that’s often underestimated.
Image optimization
Exporting images from Figma doesn’t automatically make them web-optimized. Large images are one of the biggest performance killers.
Animation and interactions
Figma prototypes can include fancy transitions. Replicating those in WordPress requires CSS animations or JavaScript. Not everything that looks great in a prototype is practical or cost-effective to build.
Client content versus placeholder content
A design might look beautiful with perfectly sized placeholder images. When the client uploads their actual content (longer text, portrait photos instead of landscape), layouts can break.
Best Practices for Pixel-Perfect Figma to WordPress Development
Getting close to the design is one thing. Getting it exactly right is another. These practices help.
- Use CSS custom properties (variables) that mirror Figma’s color and spacing tokens. This makes theme-wide changes much easier.
- Match Figma’s 8-point grid in your CSS. If the design uses 8px spacing increments, your CSS should too.
- Set your base font size correctly. If Figma shows body text at 16px, your CSS should match that as the base.
- Use the same font weights. Figma often shows Medium (500) weight text that can look different from Regular (400). Load the specific weights you need.
- Check in a real browser, not just the WordPress editor. Page builders have their own preview modes that don’t always match how a browser renders the page.
- Design and develop with the same viewport widths. If the design was done at 1440px, test your build at 1440px.
Performance Optimization Tips
A Figma design can look fast in a static mockup, but a built website is a different story. Performance needs active attention.
Compress images
Use a plugin like Imagify or ShortPixel to automatically compress uploaded images.
Use a CDN
A content delivery network serves your assets from servers close to the visitor.
Enable browser caching
WP Rocket or W3 Total Cache handles this well.
Minify CSS and JS
Remove unnecessary whitespace and combine files where possible.
Limit web fonts
Every font weight you load is another network request. Load only what you use.
Avoid render-blocking resources
Defer non-critical JavaScript so the page visually loads faster.
Choose fast hosting. Shared hosting is cheap but slow. For business sites, a managed WordPress host like Kinsta or WP Engine is worth the investment.
Figma to WooCommerce Development
If the Figma design includes an online store, the process adds a layer of complexity. WooCommerce is the most popular e-commerce plugin for WordPress, and it has its own templates, pages, and design conventions.
Converting a Figma e-commerce design to WooCommerce involves:
- Product listing pages: The WooCommerce shop page and category pages need custom templates that match the Figma design.
- Product detail pages: Single product pages have many components: images, descriptions, add-to-cart buttons, reviews, related products. Each needs to be styled.
- Cart and checkout: These are the most critical pages for conversion. They need to match the design while preserving WooCommerce’s core functionality.
- Custom Elementor widgets or theme builders: Elementor Pro, Divi, or WooCommerce-compatible page builders make custom shop layouts more accessible.
One thing to keep in mind, highly customized WooCommerce designs can conflict with WooCommerce updates. Thorough testing after plugin updates is essential.
How Much Does Figma to WordPress Conversion Cost in 2026?
Pricing varies significantly based on project complexity, who does the work, and which method is used.
| Project Type | Estimated Cost (USD) |
| Simple 5-page site, Elementor | $800 to $2,500 |
| Business site, 10-15 pages, Elementor | $2,500 to $6,000 |
| Custom-coded WordPress theme | $5,000 to $15,000+ |
| WooCommerce store, custom design | $5,000 to $20,000+ |
| Enterprise or complex web application | $20,000+ |
Freelancers typically charge less than agencies, but availability, communication, and quality can vary. Agencies often charge more but provide structured project management and quality assurance. Using a Figma to WordPress service through a specialized development company usually falls somewhere between a solo freelancer and a full-service agency.
These companies focus specifically on this type of work and often have established processes that keep costs reasonable while delivering consistent quality. AI-assisted tools can reduce cost for simpler projects, but still require developer oversight to produce a production-ready result.
Should You Hire a Figma to WordPress Development Company?
If you’re a business owner or designer without development experience, trying to DIY the conversion has real risks. Mistakes in coding, security configuration, and performance optimization can cost more to fix than they would have cost to avoid.
A Figma to WordPress development company makes sense when:
- The design is complex or involves custom functionality
- The site needs to handle real traffic and can’t afford downtime
- You need reliable ongoing maintenance and support
- Your time is better spent on your actual business
What to look for in a development partner:
- Portfolio of previous Figma to WordPress projects
- Clear process for design handoff and development
- Transparent pricing with defined deliverables
- Post-launch support and maintenance options
- Experience with performance optimization and SEO-friendly builds
Ask to see examples of sites they’ve built and compare them to the original designs. A good Website development company can show you how closely its output matches the original mockup.
Tools Commonly Used in Figma for WordPress Projects
Here’s a practical overview of tools that come up regularly in this kind of work:
Design and Handoff
- Figma (design and prototyping)
- Figma Dev Mode (developer inspection)
- Zeplin (alternative handoff tool, though Figma has largely replaced this)
Development Environment
- LocalWP (local WordPress development)
- MAMP or Laragon (alternatives)
- VS Code (code editor)
WordPress Page Builders
- Elementor Pro
- Divi Builder
- Bricks Builder (gaining popularity for custom builds)
Theme Frameworks
- GeneratePress
- Underscores (_s) starter theme
- Astra
Performance
- WP Rocket
- Imagify or ShortPixel
- Cloudflare (CDN and security)
AI-Assisted Conversion Tools
- Locofy.ai
- Anima (generates React or HTML from Figma)
- Builder.io (Figma plugin for generating code)
Future of AI in Figma to WordPress Development
AI-powered conversion tools have improved meaningfully over the past couple of years, and the trend is continuing. Tools like Locofy.ai and Builder.io have gotten better at generating usable code from Figma designs, and more plugins are emerging that claim to bridge the gap even further.
That said, fully automated Figma to WordPress conversion is still not reliable enough to replace skilled developers on complex projects. AI can generate a reasonable structure, but it doesn’t yet understand design intent, accessibility requirements, CMS architecture, or client-specific functionality.
The more realistic view: AI tools are becoming genuinely useful as accelerators. A developer who uses AI-assisted tools well can complete a project faster than one who doesn’t. But someone without development experience using these tools unsupervised is still likely to produce a site that has problems under the hood, even if it looks okay on the surface.
The best use of AI in this workflow right now is as a first-pass code generator that a developer then reviews, cleans up, and properly integrates into WordPress. It’s not a replacement for expertise; it’s more like a shortcut that still requires expertise to use well.
Final Thoughts
Figma to WordPress conversion is one of the most common workflows in web design and development, and for good reason. It combines the best of what both tools do: Figma for designing, WordPress for publishing and managing content.
Whether you’re planning to build the site yourself or hire a WordPress developer, understanding the overall workflow helps you make smarter decisions and avoid common mistakes during the project.
If you’re a business owner deciding whether to hire a team, focus less on finding the cheapest option and more on finding a team that can show you their previous work and clearly explain their process. The gap between a Figma design and a live WordPress site is real, but it’s absolutely bridgeable. People do it every day, for every kind of business, at every scale. Now you know how.
Tags
Categories
Recent Posts
Popular Posts
- How to Choose a Reliable Offshore Development Partner?
- Transforming Web Development with HTMX’s Declarative Approach for Dynamic UIs
- Top 15 Ecommerce Growth Strategies to Maximize Sales in 2026
- What is B2B Web Design? Benefits, Best Practices, and Examples
- Why Your Conversion Funnel Needs a Composable Commerce Solution?